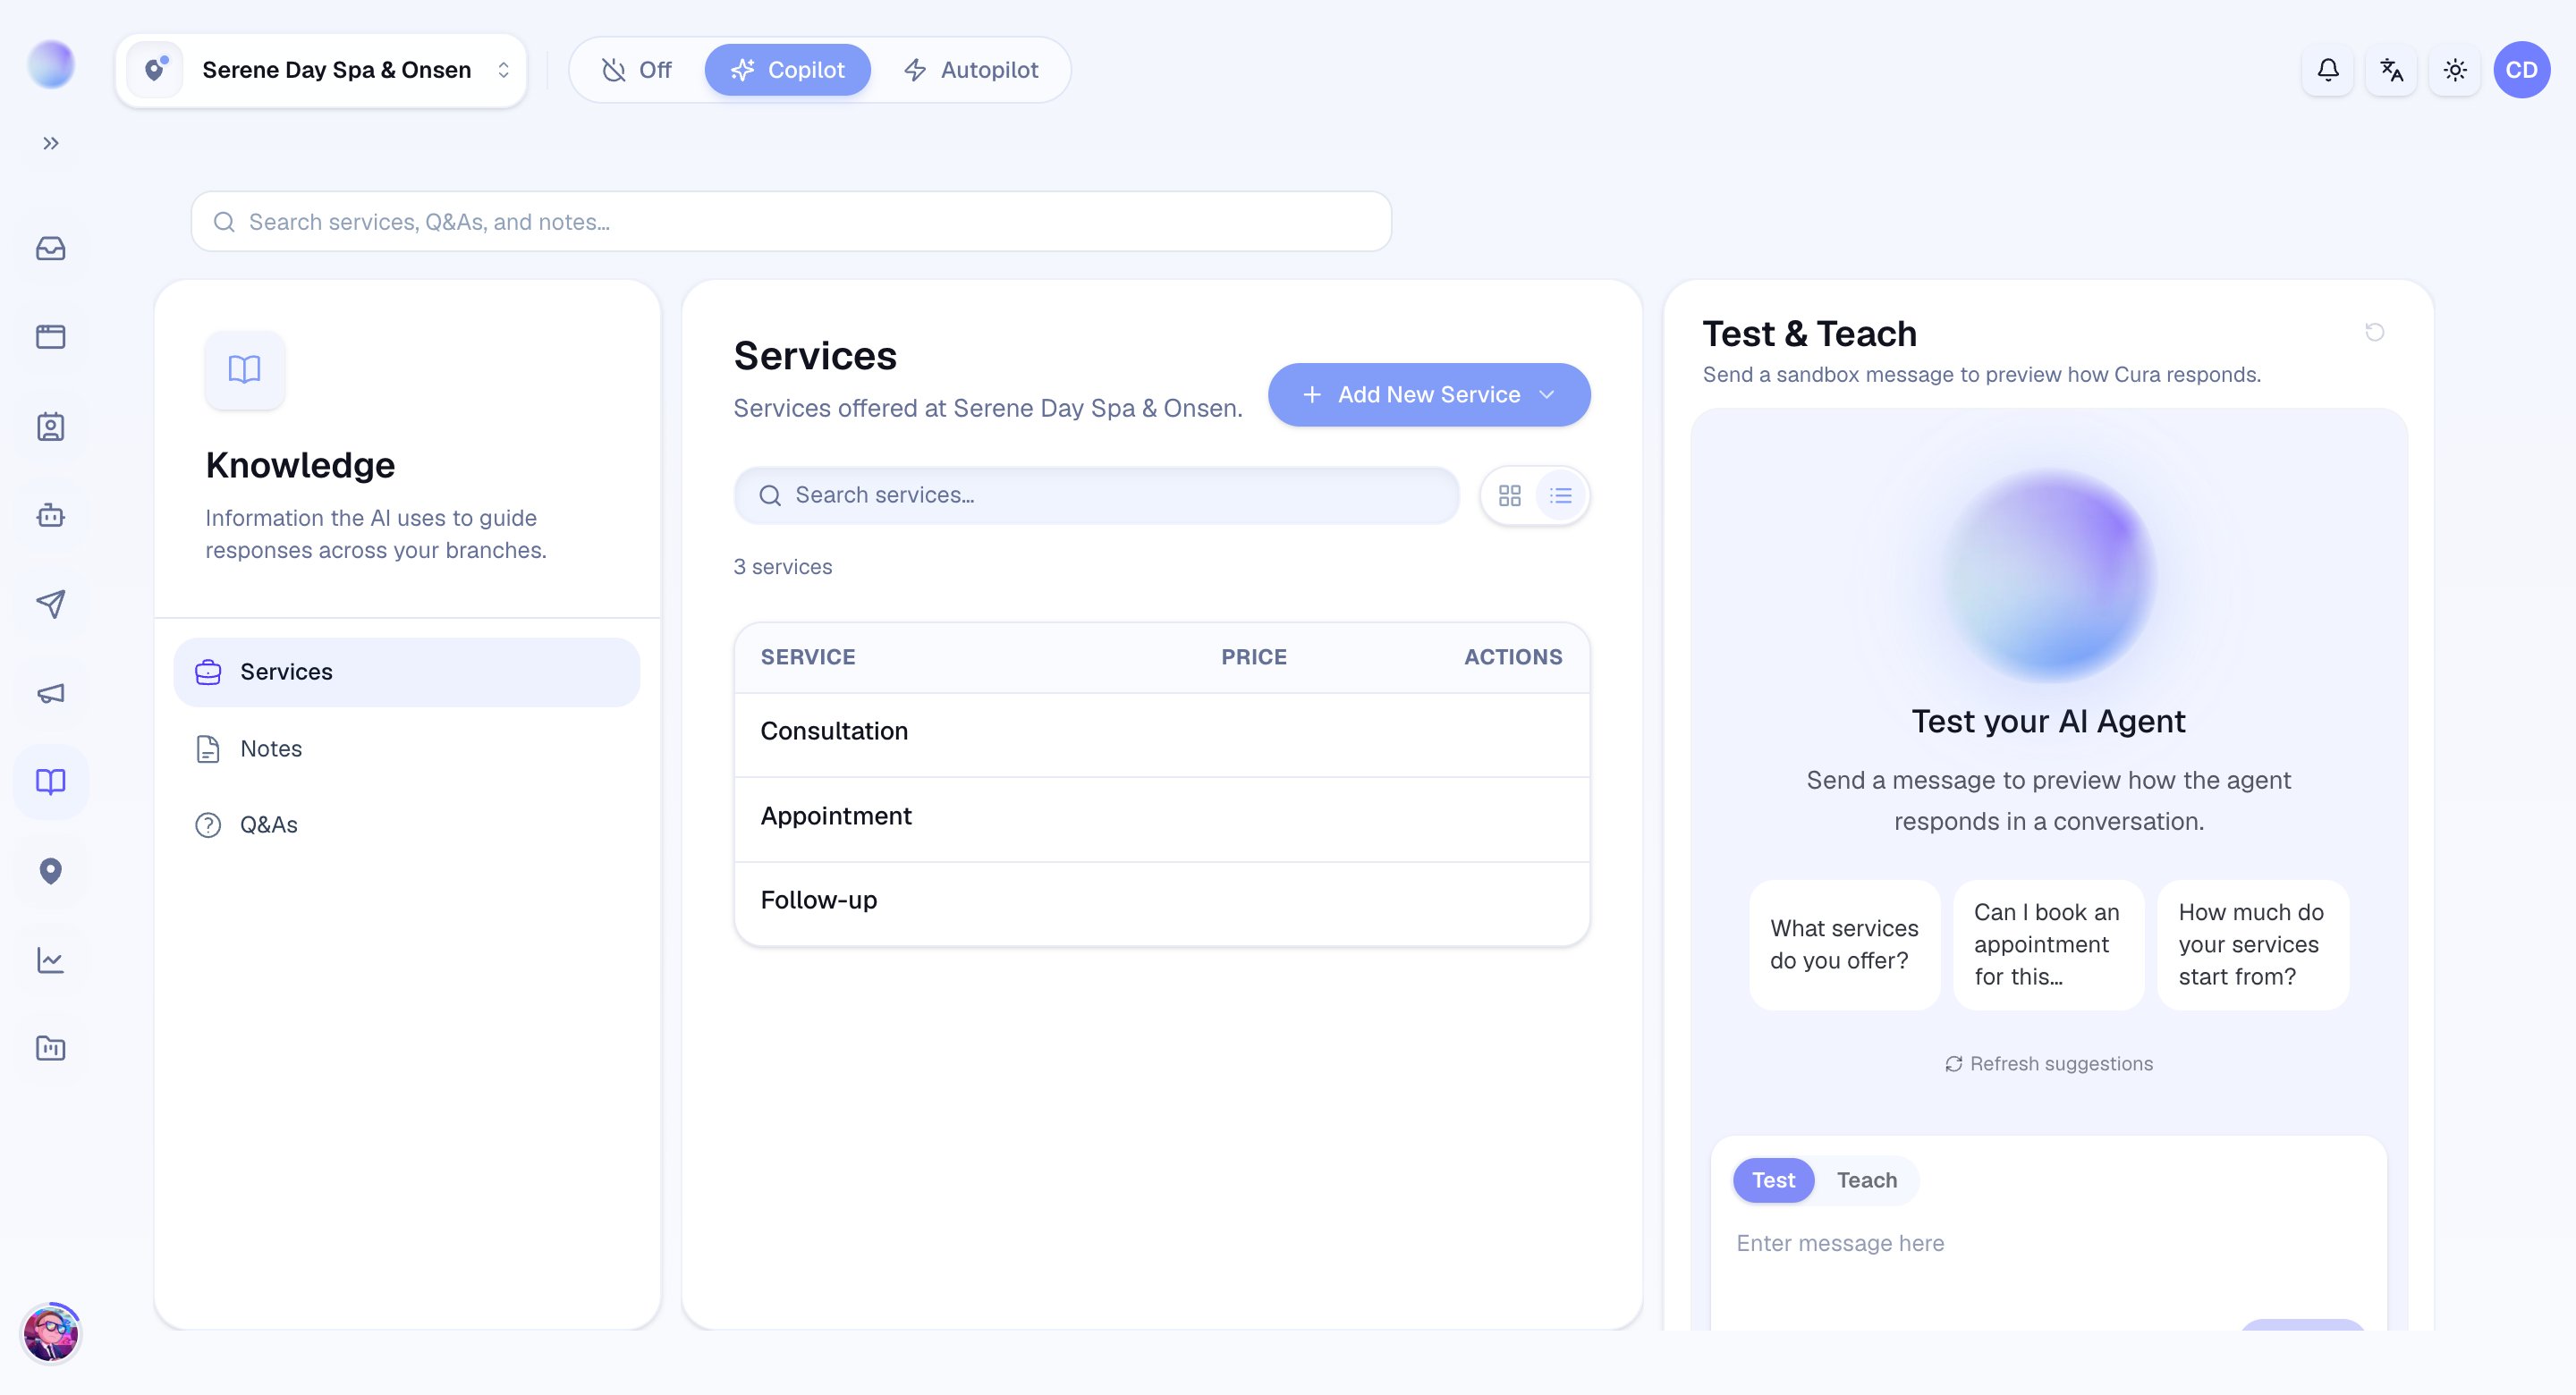

Before you begin
- You’ll need Admin or Manager access to the workspace you’re editing.
- Knowledge is per-workspace — make sure you’re in the right one, especially if you run more than one location.
This article covers where knowledge settings live. For the full walkthrough on adding and managing content, see the dedicated guide below.
1
Open Knowledge settings
- Go to Settings → Knowledge.
- A badge next to the Knowledge heading shows which workspace you’re viewing — confirm it’s the right one, since each workspace has its own separate Knowledge Base.
2
Review what's there
- The Entries list shows the knowledge this workspace has — the material your AI uses to answer.
- Scan for anything out of date: old prices, retired services, or policies that have changed.
You can see exactly what your AI knows for this workspace.
3
Add and update knowledge
- Use the Create entry form to add knowledge — give it a Title, the Content, and optional Tags — then click Create to fill gaps in the AI’s answers.
- Keep entries focused: one clear topic per entry works better than one giant catch-all. Stale information can produce confident-but-wrong replies, so update entries when details change.
Your Knowledge Base is current for this workspace.
Keeping each workspace separate
Because knowledge is per-workspace, a multi-location business trains each one on its own. That’s a feature, not a chore — your Sukhumvit branch can quote different prices or hours from your Thonglor branch, and the AI always answers from the right one. For the complete guide on uploading documents, adding FAQs, and adding Services and prices, head to: 👉 Build your Knowledge Base