

In the top navigation, workspaces appear as Branches — the selector reads “All Branches” and your individual branch names. In settings they’re called workspaces. They’re the same thing.
Before you begin
- You need to be an admin on the account to create a new workspace.
- Have the new location’s basics handy: its name, location, and timezone.
- Your first (default) workspace should already be set up — see Getting started with Cura.
1
Open the branch selector
Your current branch name appears in the top navigation. Opening it shows every branch you have access to.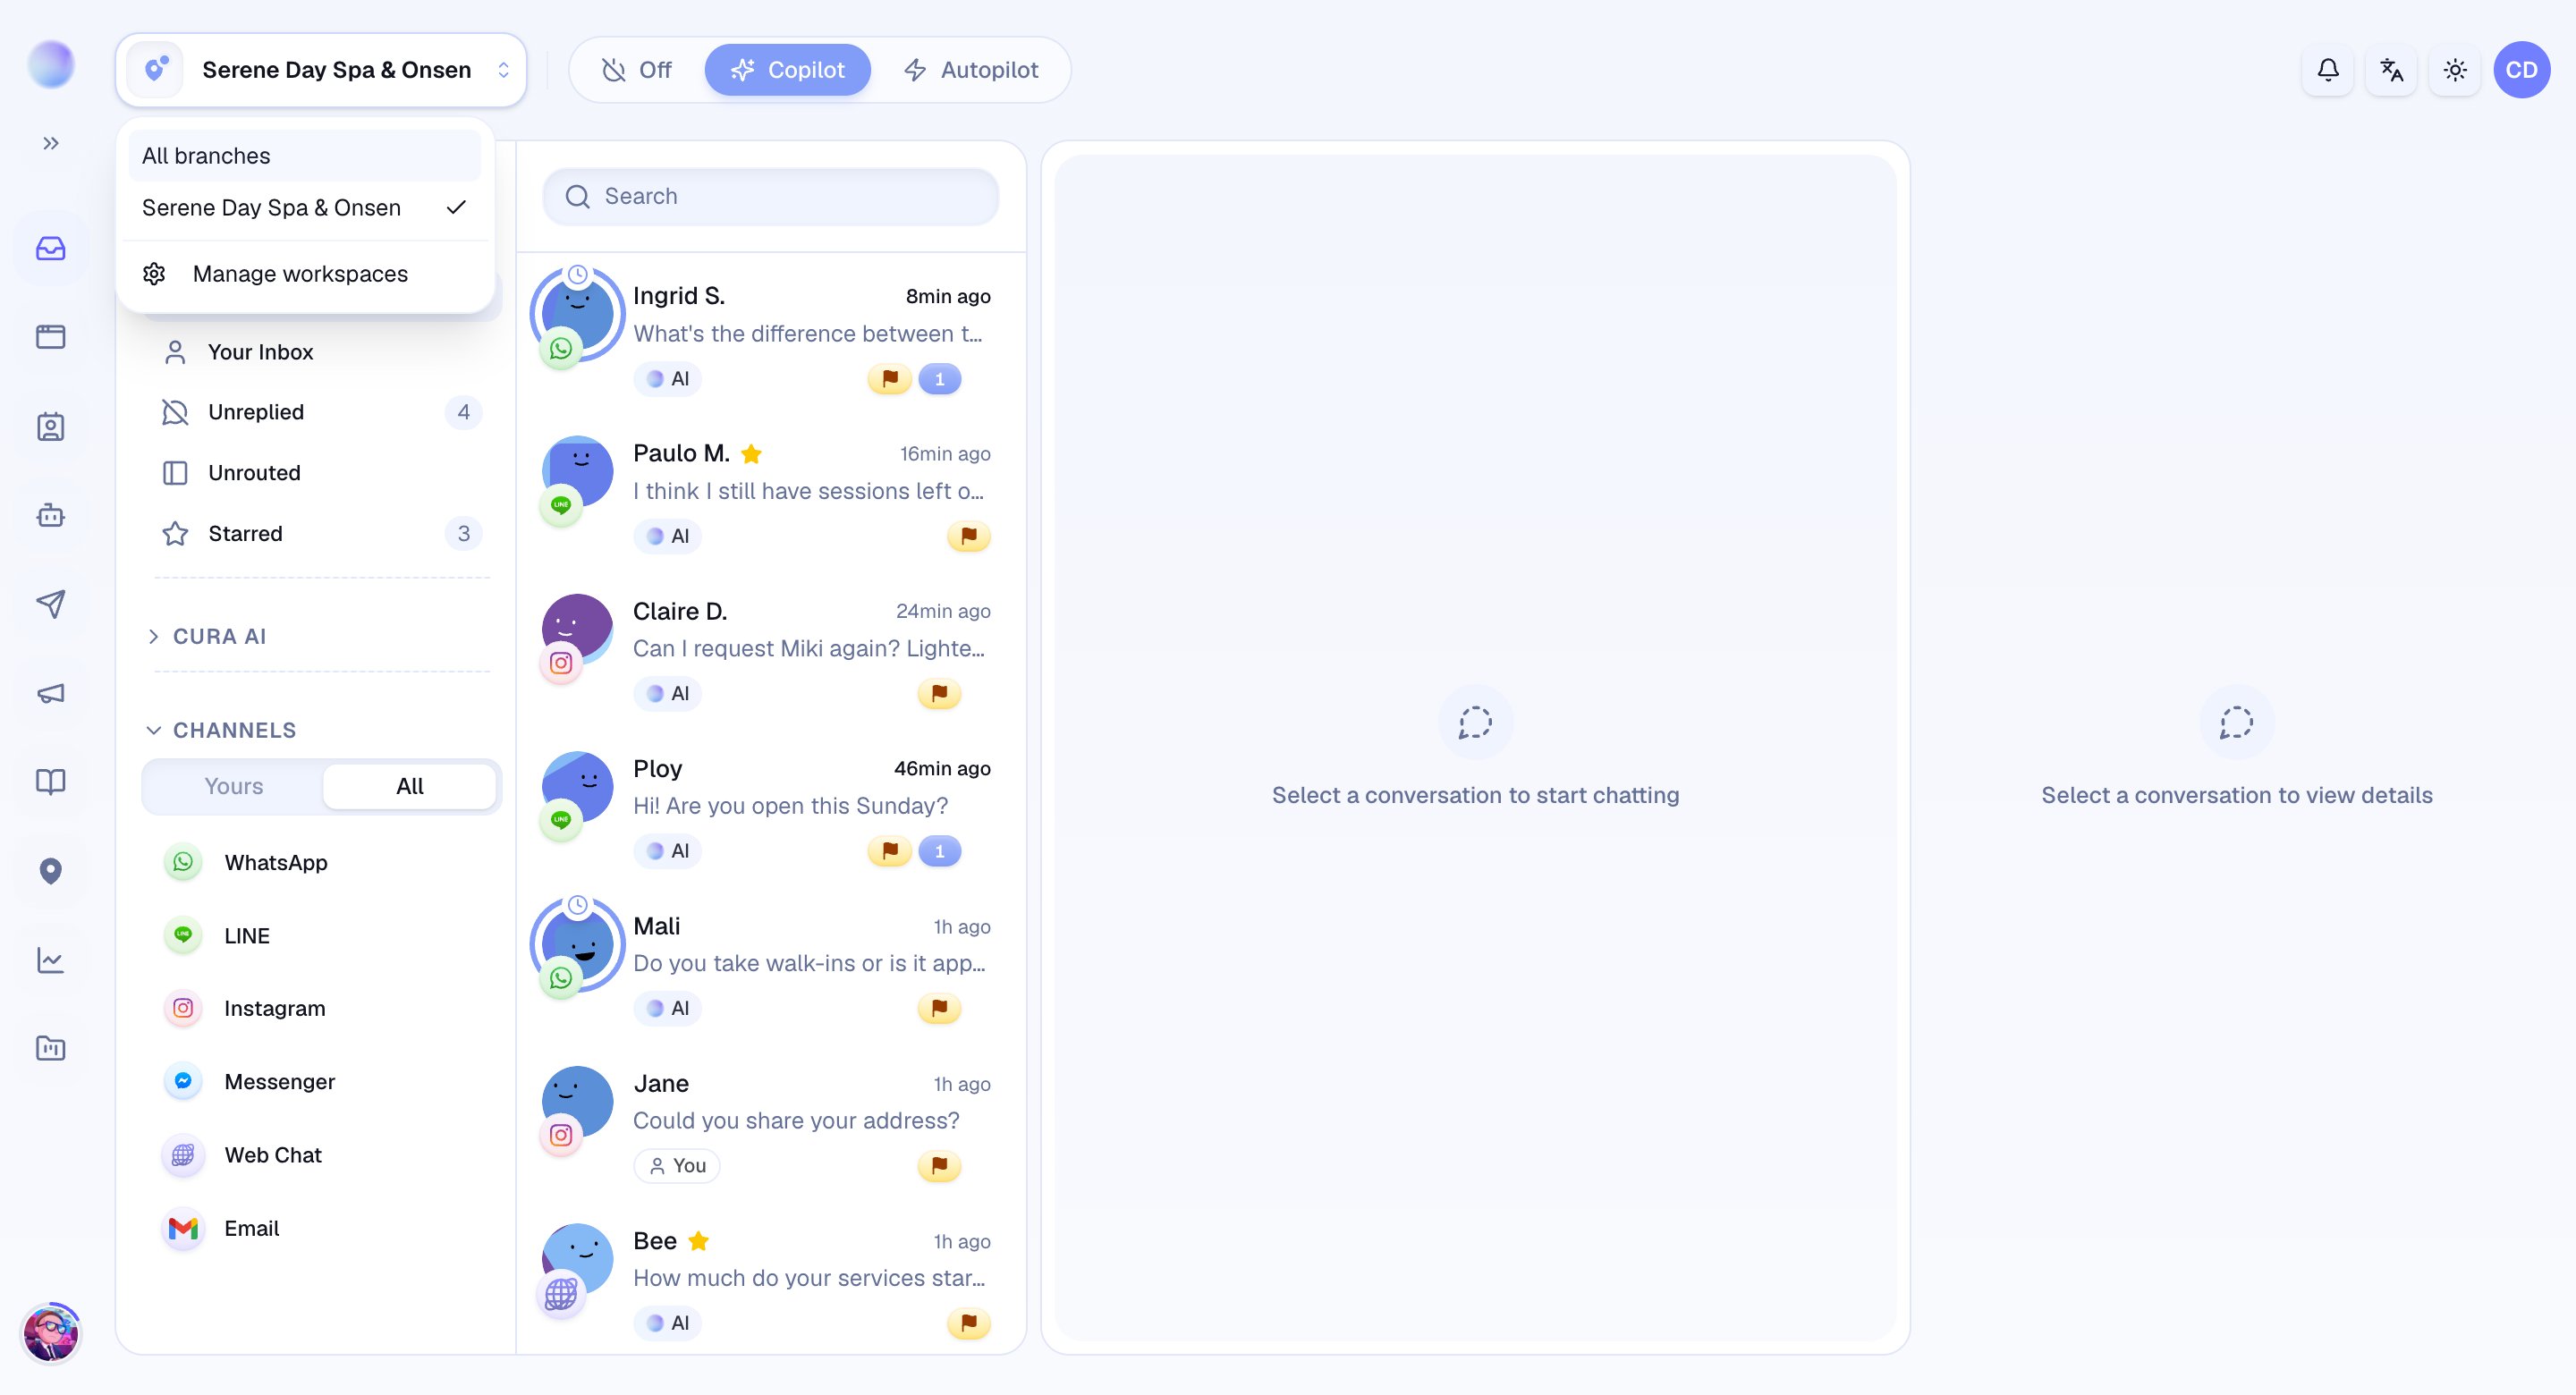
- Find your current branch in the top navigation.
- Open the selector to see all available branches. Admins also see an All Branches option and a Manage workspaces link.
2
Create a new workspace
Admins create workspaces from Manage workspaces.
- Name your workspace: use the branch or brand name, e.g. “Glow Clinic — Thonglor”.
- Set its location and timezone: so bookings, reminders, and AI schedules run at the right local time.
- Add contact details: phone, social links, and a map link the AI can share with customers there.
- Optionally copy from an existing workspace: when creating from another branch, you can choose which content to bring over — services, FAQs, saved replies, and working hours. Anything you don’t tick starts empty.
You’ve created a new workspace — a clean container ready for its own channels and AI knowledge.
3
Set it up
Unless you copied content from another branch, a new workspace starts empty. Treat it like a fresh start for that location:
- Connect its channels — see the connection guides under Setting up Cura.
- Add its Services, prices, and FAQs so the AI quotes that location correctly.
- Invite the team who’ll work in it — see Inviting team members.
The new workspace is live and handling its own conversations.
4
Switch between branches
You can move between branches whenever you like — nothing is interrupted by switching.
- Open the branch selector from the navigation.
- Choose the branch you want to work in. Cura loads that location’s Inbox, contacts, and settings. Admins can also pick All Branches to see everything at once.
Switching only changes what you’re looking at. Every workspace keeps running in the background — messages keep arriving and the AI keeps replying in each one whether or not it’s the one on your screen.
Troubleshooting
- I don’t see Manage workspaces or the option to create one. Only account admins can create and manage workspaces. Ask an admin, or check your role under Roles and permissions.
- A branch is missing from the selector. You only see branches you’ve been added to. Ask an admin to add you to it.
- I can’t reach an upgrade-only branch. Your plan limits how many workspaces an account can have. If you hit the limit, Cura prompts you to upgrade rather than creating a new one.