

Before you begin
- You need to be an admin on the account to create and manage teams.
- The people you want to add should already be on the account — see Inviting team members.
- Decide on a team name and who should lead it.
1
Create a team
Teams belong to your account, so a team can include people from across your workspaces.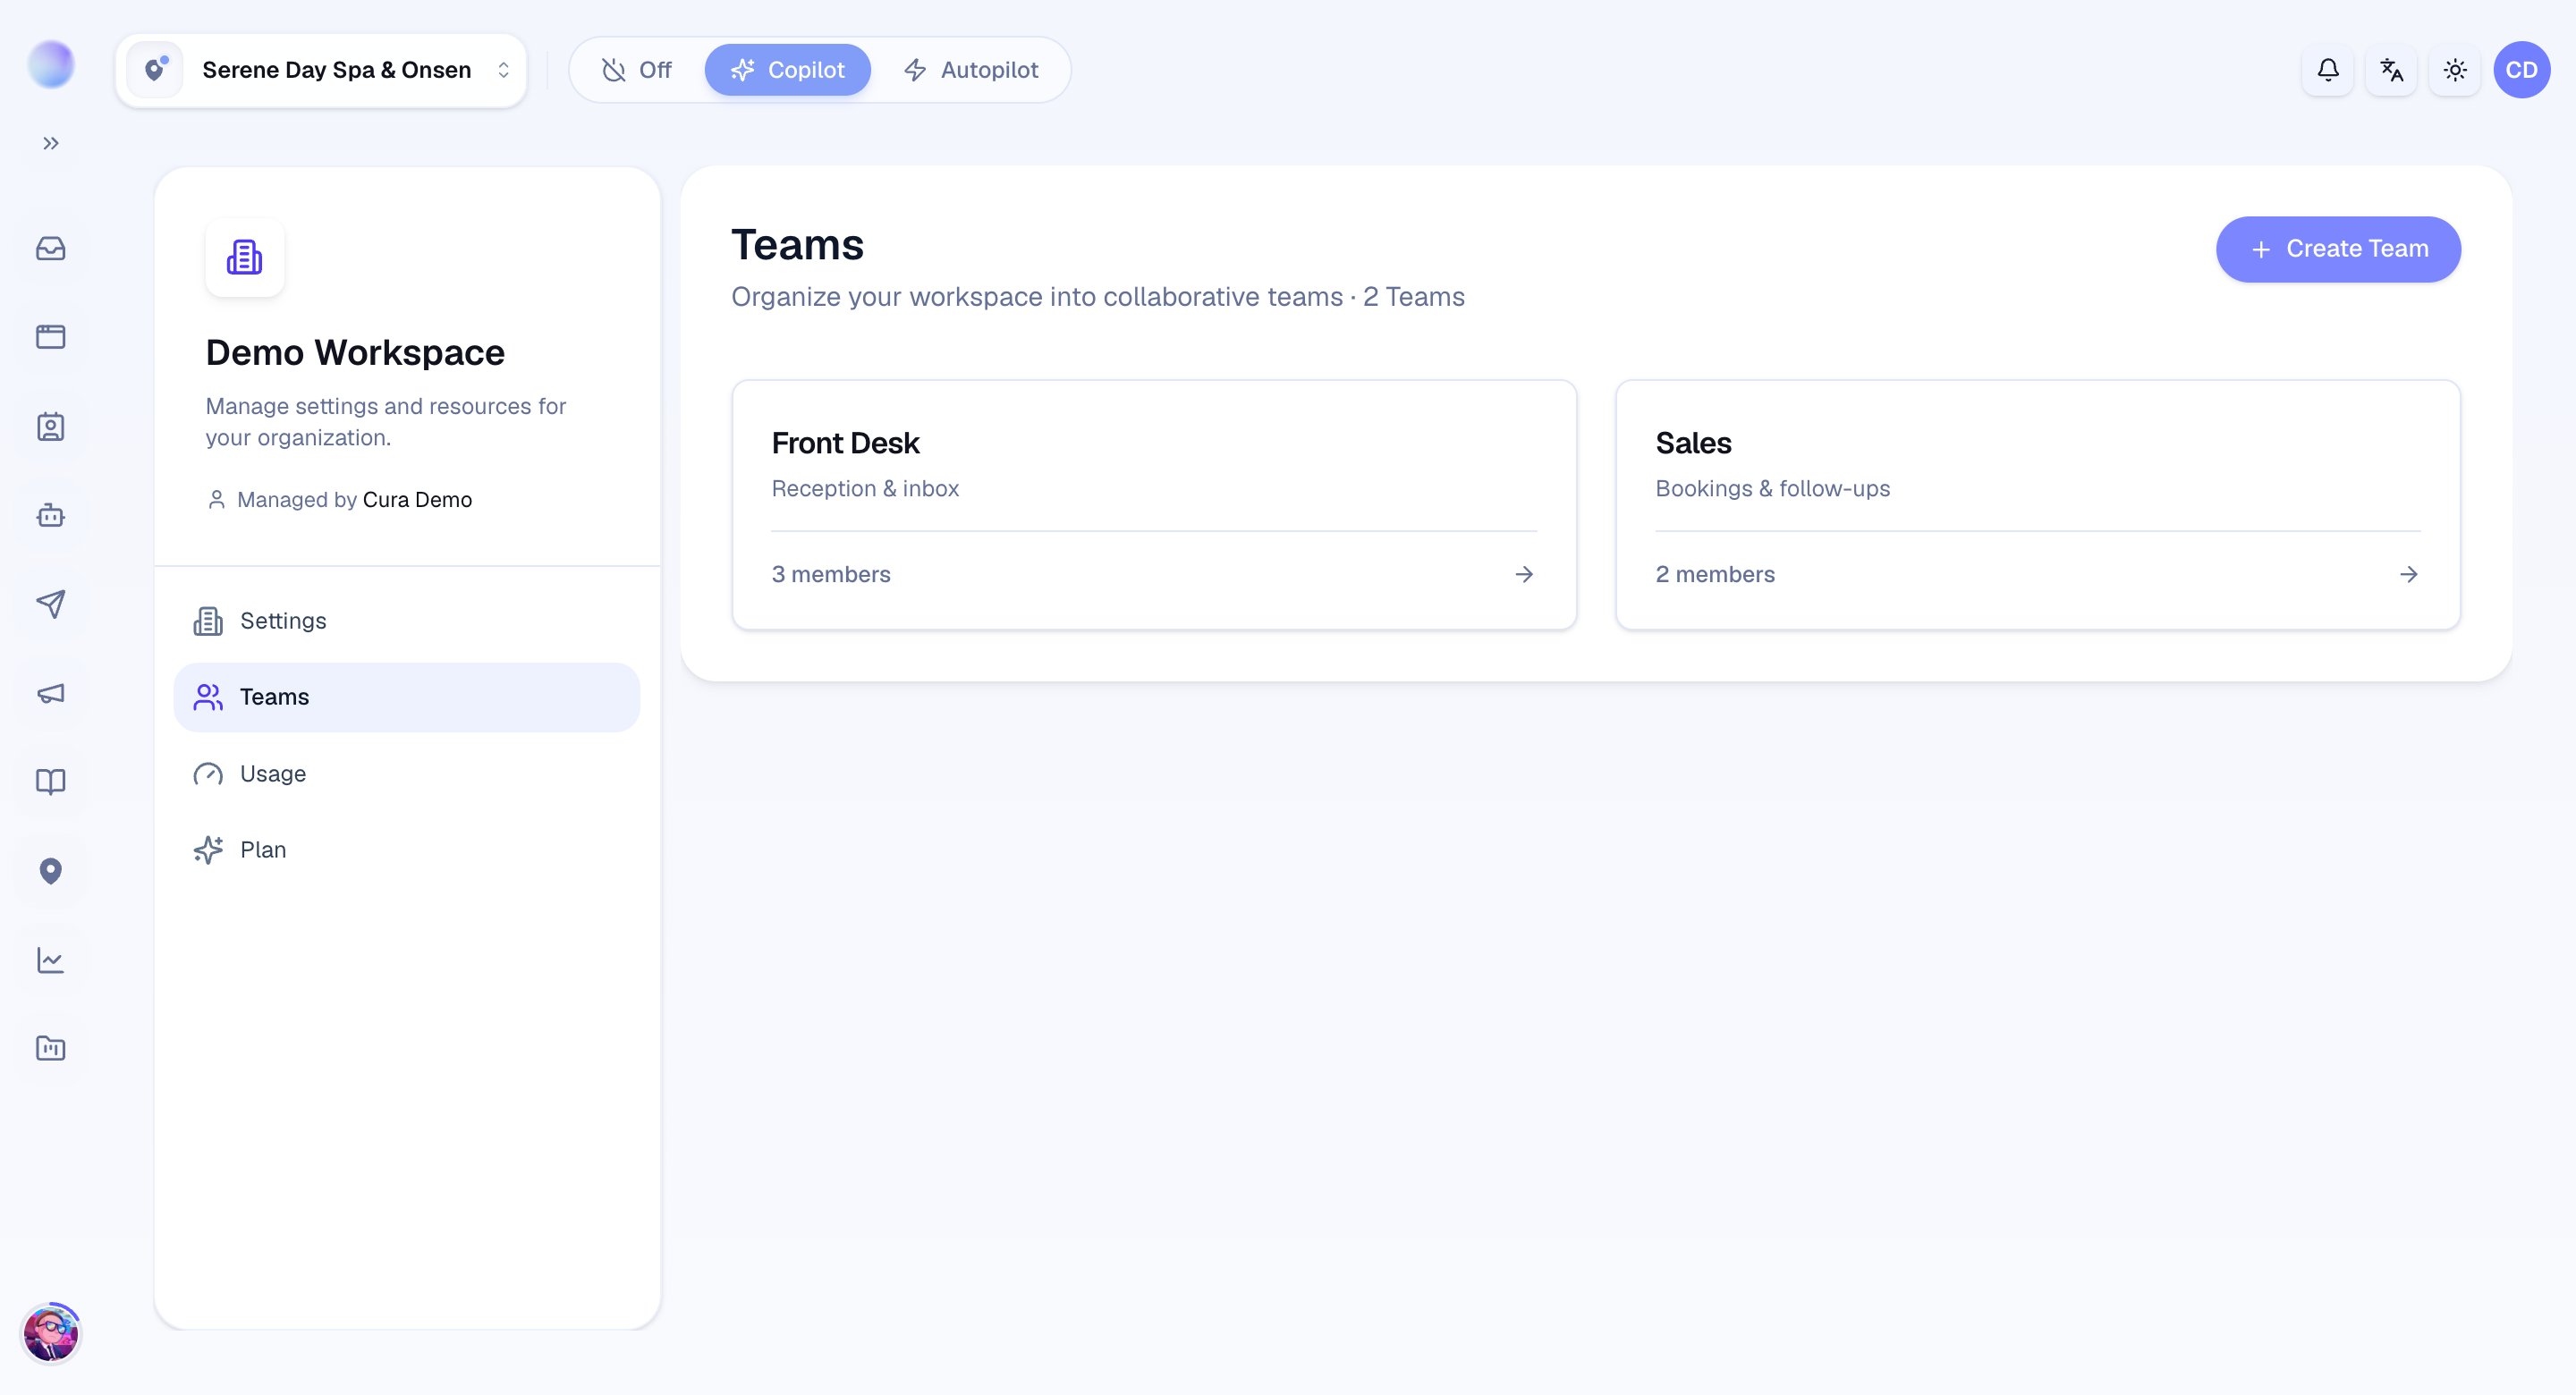
- Open your team settings and choose to create a new team.
- Give it a name: something your staff will recognize, e.g. “Front Desk”.
- Add a description (optional): a short note on what the team handles.
You’ve created a team — an empty group ready for members.
Your plan sets how many teams an account can have. If you reach the limit, Cura prompts you to upgrade instead of creating another team.
2
Add members
Bring the right people into the team.
- Add each person from your account’s list of members.
- Add as many as you need — a person can belong to more than one team.
Your team has members.
3
Name a team lead
Every team can have one team lead — the person who owns it day to day.
- Choose a team lead from the team’s members.
- Change it anytime as responsibilities shift.
A team lead must be a member of the team. If you remove the lead from the team, the lead role is cleared and you’ll need to name a new one.
Your team has a lead — a clear point of ownership.
4
Use teams in the Inbox
Once a team exists, it becomes a handy lens on your conversations.
- Filter the Inbox by team — each team appears under Team Inboxes in the Inbox sidebar, so you can see just that group’s conversations.
- Assign a conversation to a team from the conversation’s details so nothing slips between people.
Troubleshooting
- I can’t add someone to a team. They need to be on the account first. Invite them, then add them once they’ve accepted.
- The team lead option is greyed out. A lead must already be a member of the team — add them in Step 2 first.