

Before you begin
- You’ll need Admin or Manager access.
- An AI schedule is set per inbox (per connected channel), so decide which inbox you’re scheduling.
- Make sure the Master AI switch is on for that inbox — the schedule controls when the AI replies, but only while the AI is enabled.
1
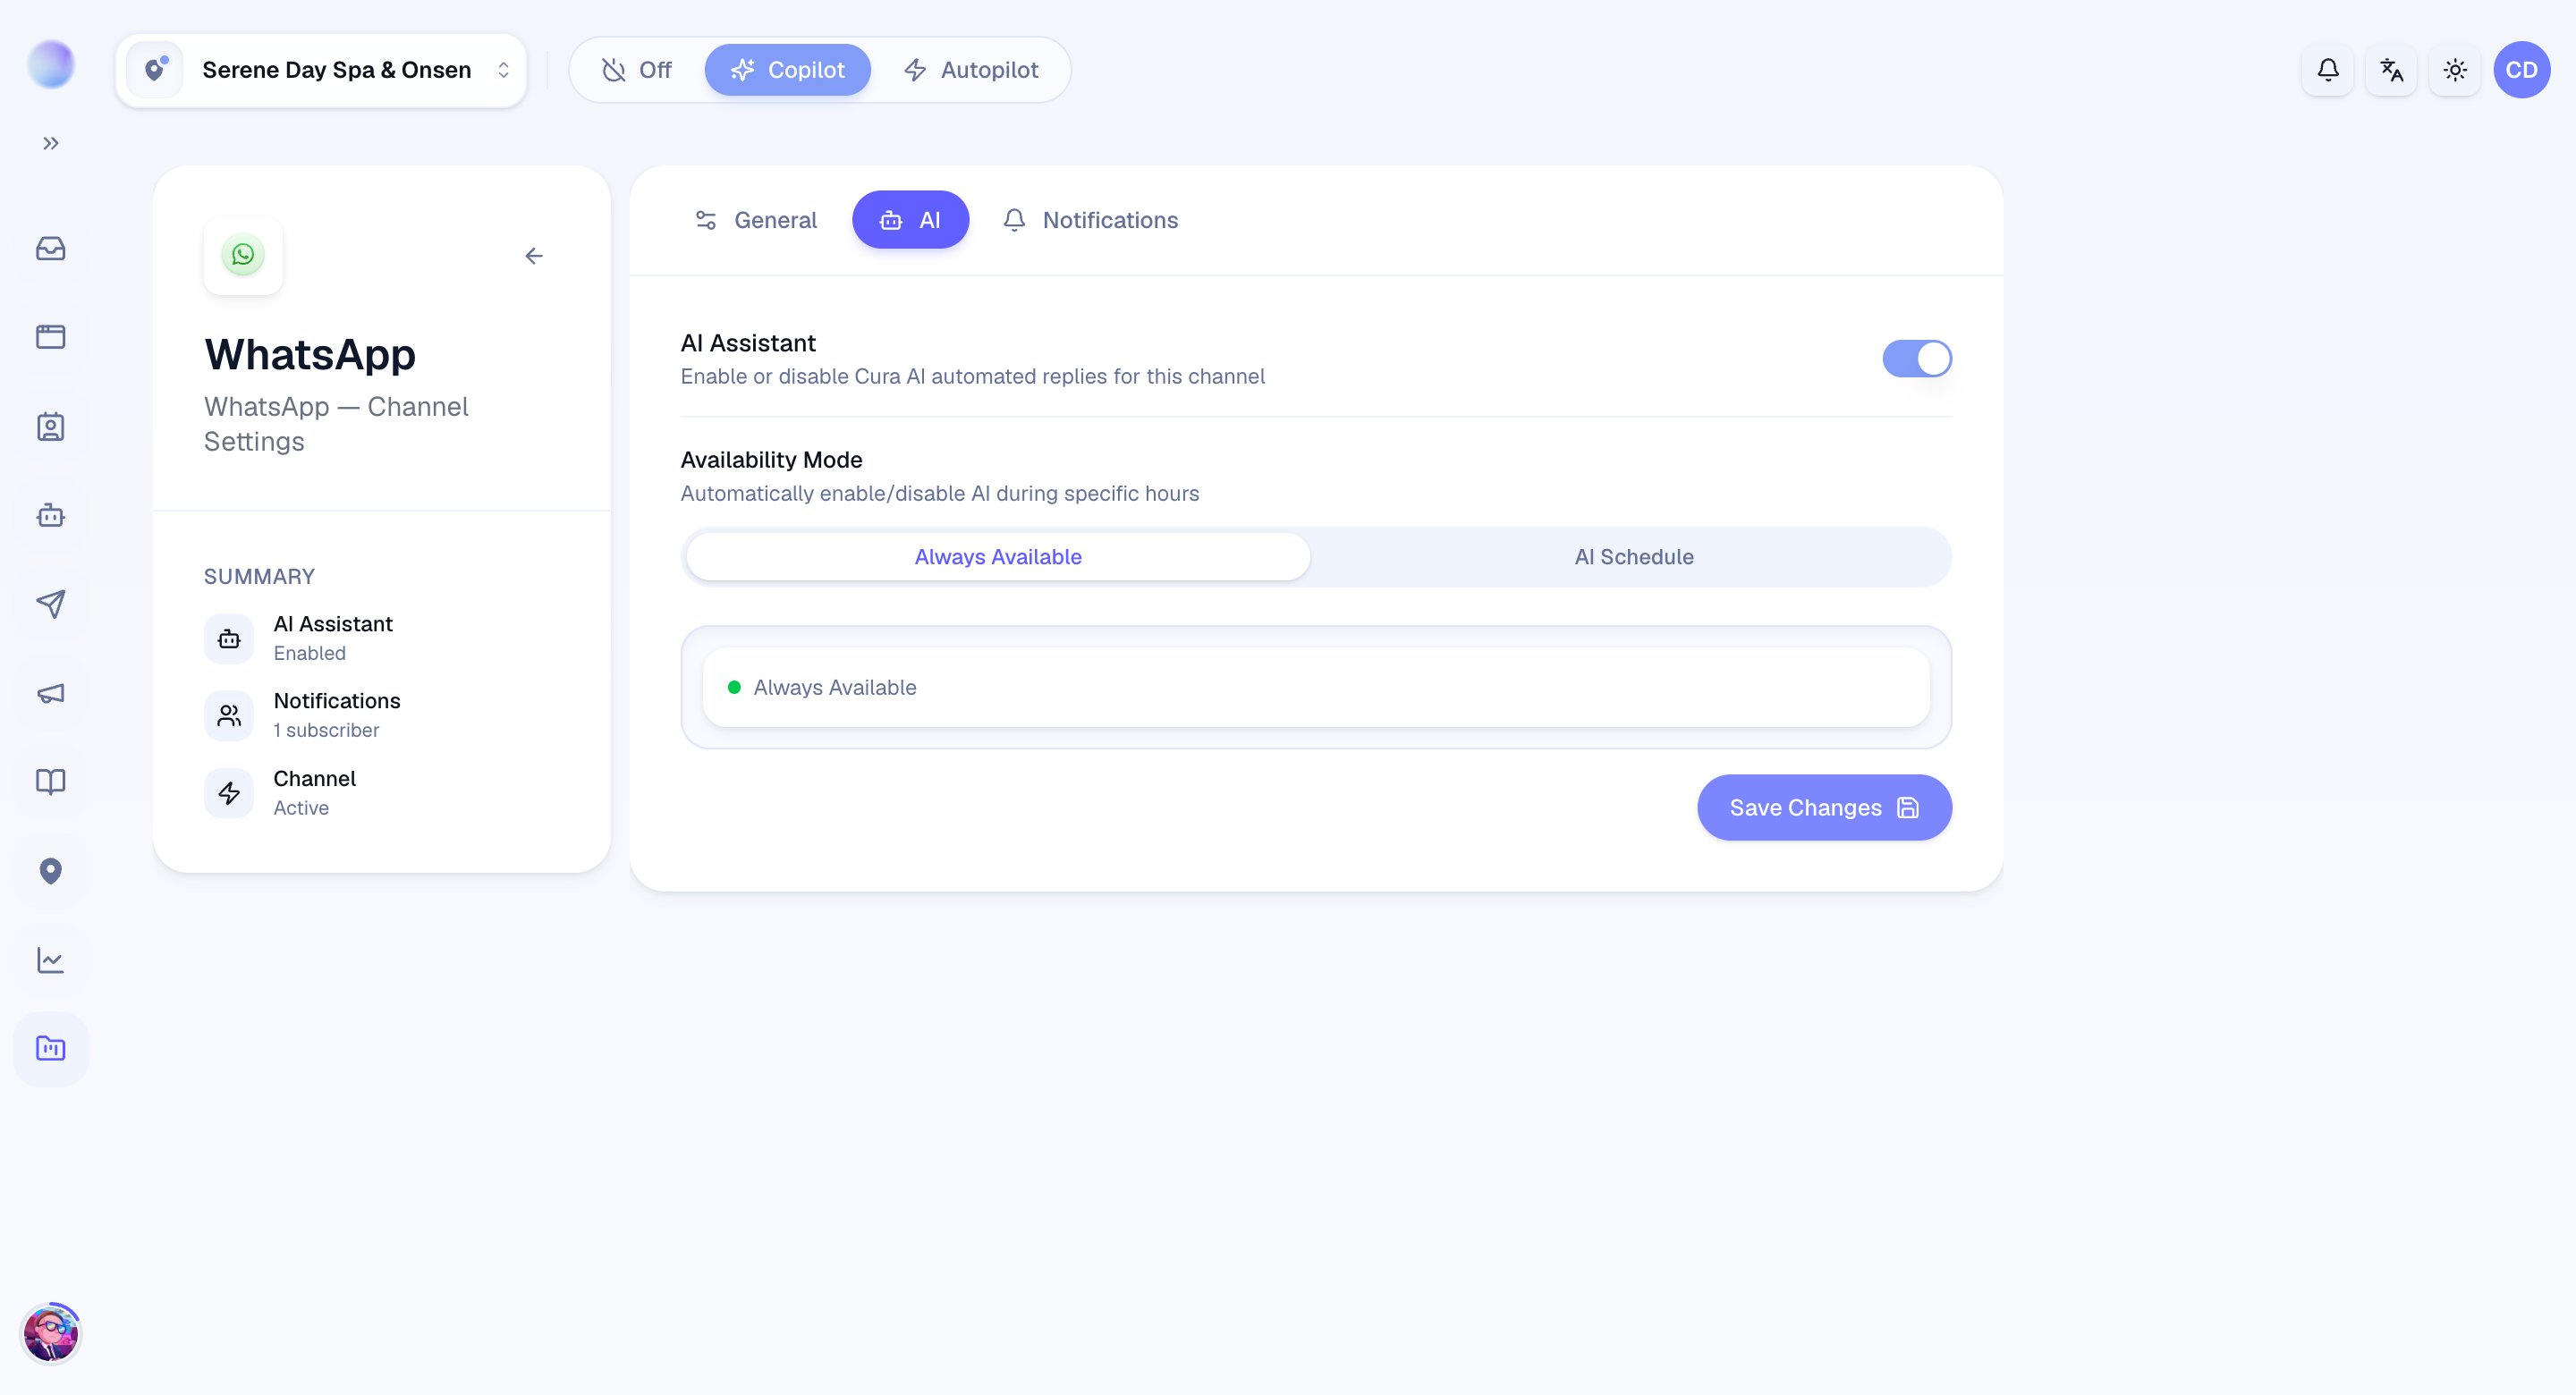
Open the inbox's AI settings
- Go to the inbox you want to schedule and open its AI settings.
2
Turn the schedule on
- Enable the schedule. With it off, the AI follows the Master AI switch alone and replies at any hour.
3
Choose your days and hours
- Days: pick the days the AI should be active, e.g. Monday to Friday.
- Start time and end time: set the daily window, e.g. 09:00 to 17:00.
- Timezone: choose your local timezone, e.g. Asia/Bangkok, so the schedule matches your real opening hours.
Your AI now replies only during the hours you set on this inbox.
4
Decide what happens after hours
Outside the scheduled window, the AI won’t reply. Plan for that:
- Make sure a team member checks the inbox, or
- Set up an after-hours Saved reply so customers know when you’ll respond.
The schedule is set per inbox, so each channel can have its own hours. A walk-in-heavy LINE channel and a quieter Instagram channel can run different schedules.
Troubleshooting
- The AI replies outside my hours. Confirm the schedule is enabled and that the timezone is correct — a wrong timezone shifts the whole window.
- The AI never replies, even during hours. Check the Master AI switch is on for the inbox; the schedule can’t enable an AI that’s switched off.