

Triggers: the moment a workflow starts
A trigger is the single event Cura watches for. When it happens, the workflow begins. Cura’s triggers follow the customer journey:- After our last message — a message has gone out to a customer. Handy for follow-ups after you (or your AI) reach out.
- When a customer replies — the customer answers. Useful for routing or tagging based on what they say.
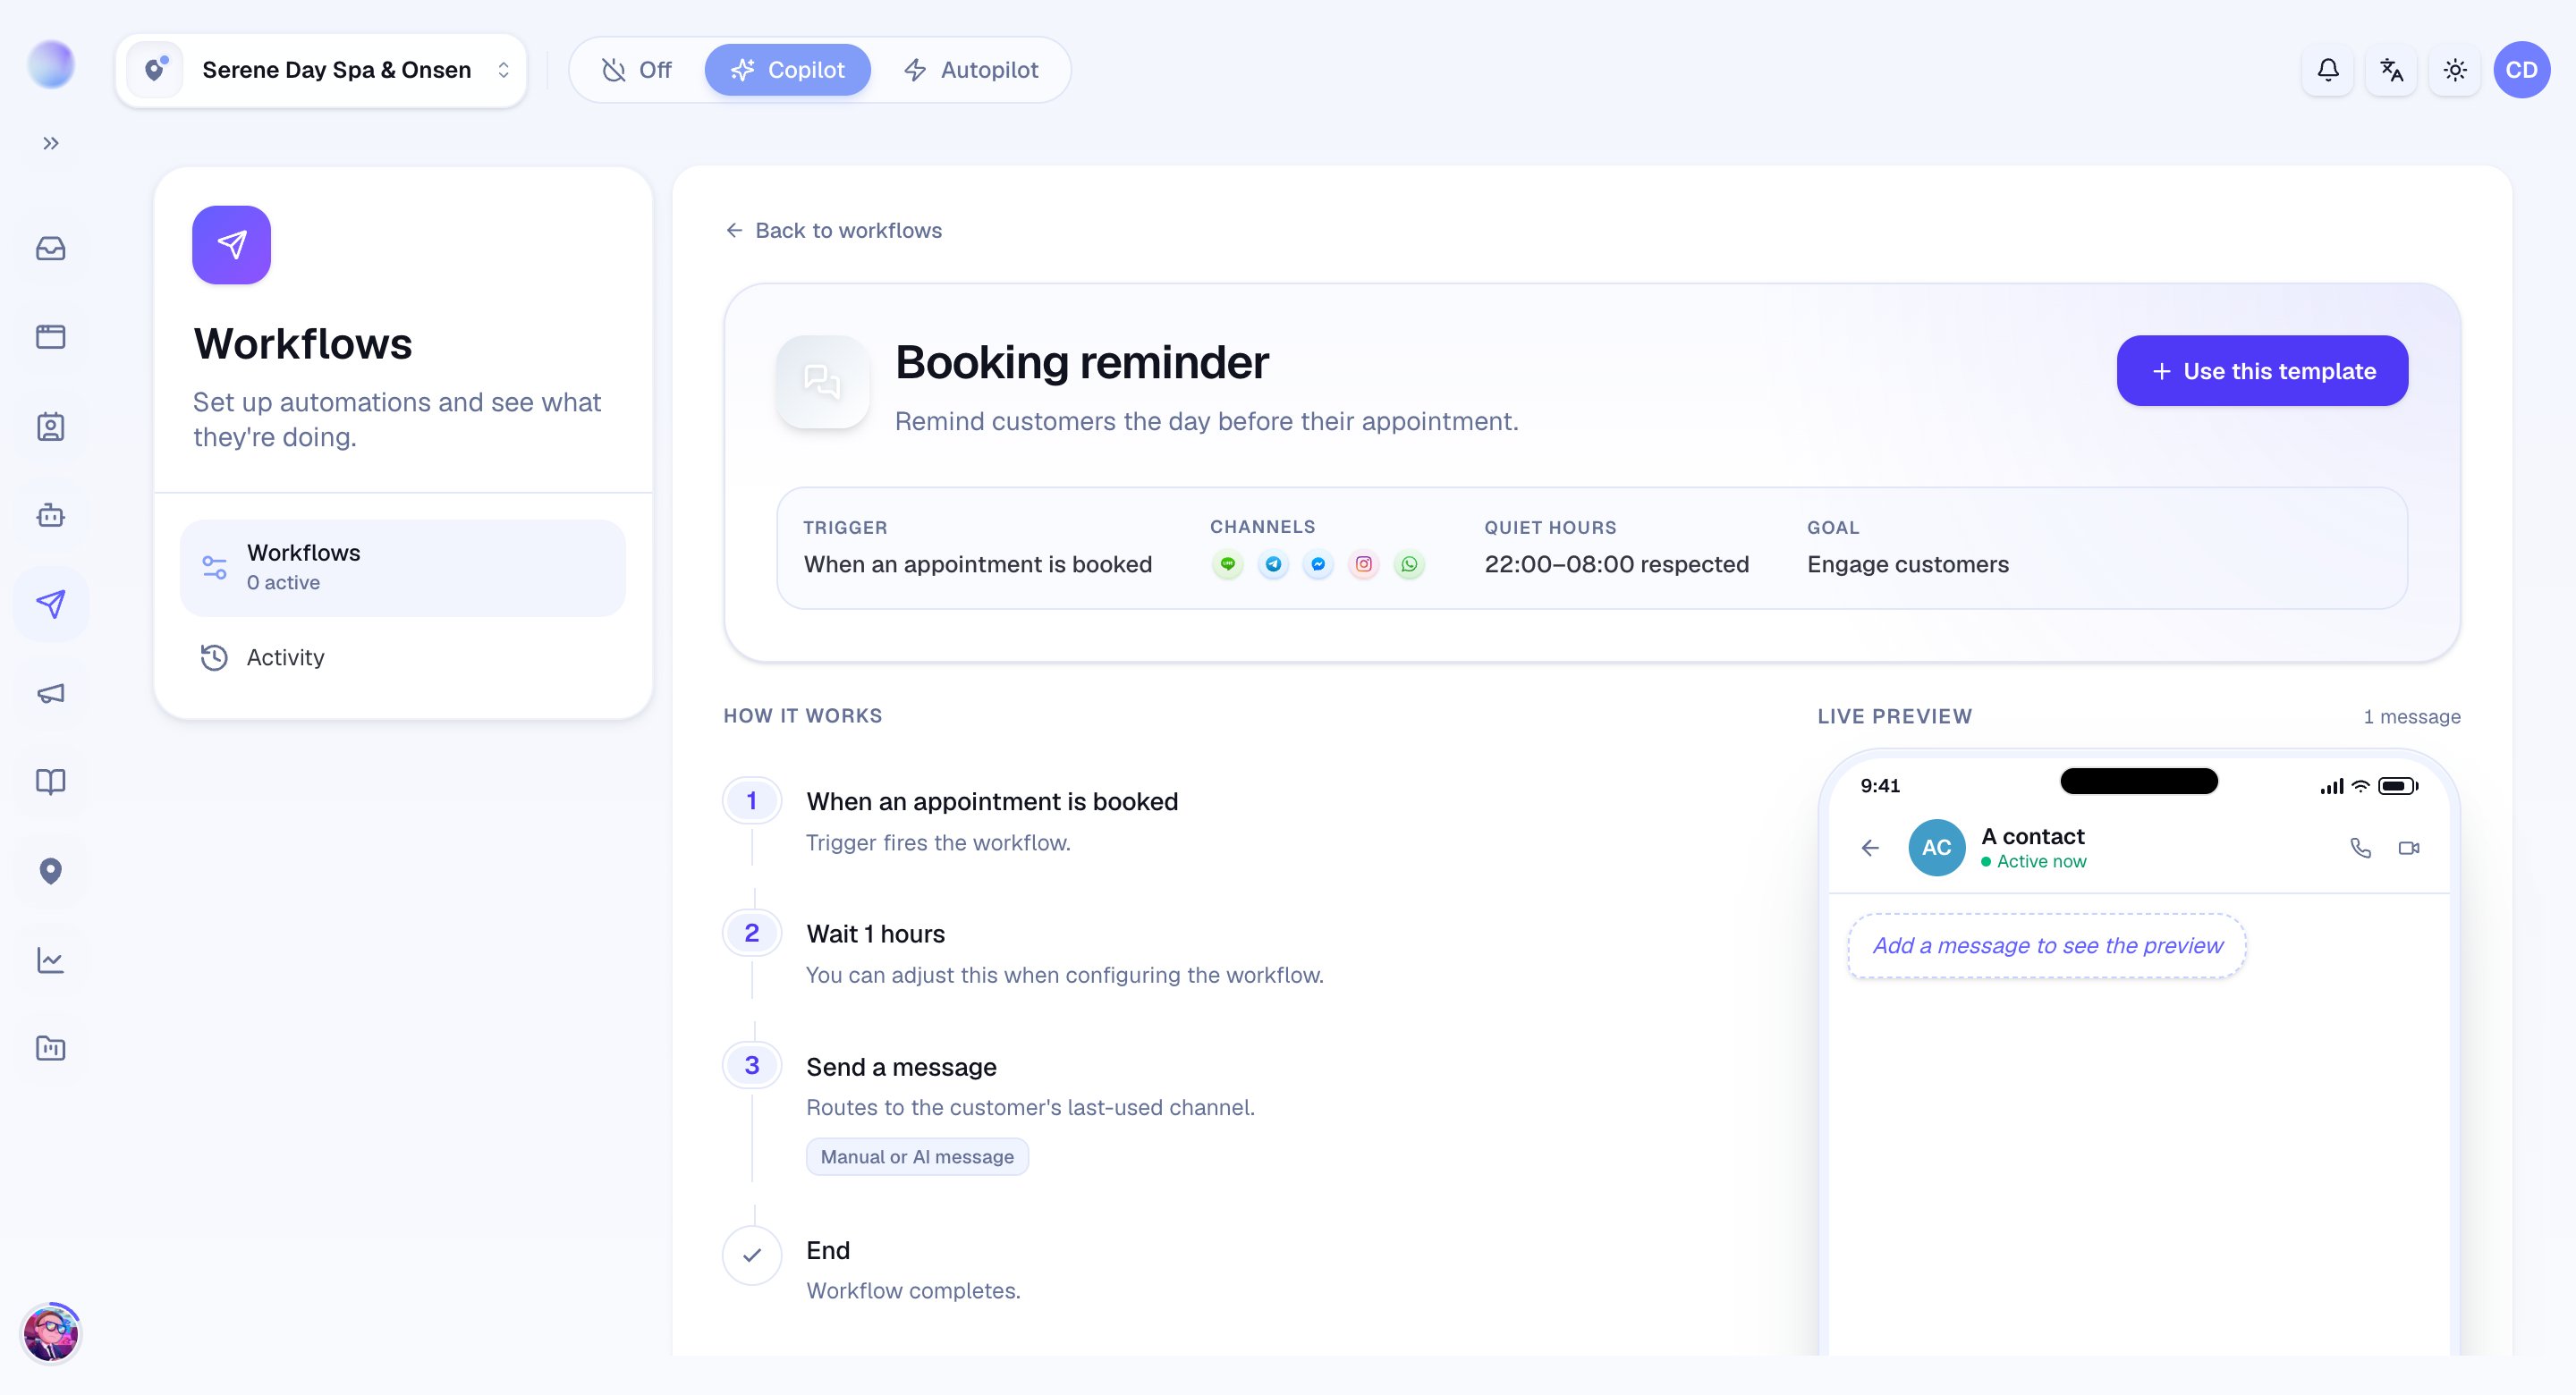
- When an appointment is booked — a new appointment is made. Ideal for confirmations and reminders.
- When a booking request is confirmed — a pending request is accepted.
- When an appointment is cancelled — an appointment is called off. Good for win-back or rebooking messages.
- When an appointment is rescheduled — an appointment’s details change. Useful for sending the new time.
- When a booking request is declined — a requested booking isn’t accepted. A chance to offer alternatives.
- After a consultation completes — the visit is done. Perfect for aftercare check-ins or review requests.
- After a customer no-shows — the customer missed their appointment. Good for gentle no-show recovery.
- When a contact goes quiet — a customer has been silent for a while. Useful for re-engagement.
Actions: what the workflow does next
Once triggered, the workflow runs through its actions in order. The building blocks Cura’s templates use are:- Wait — pause for a set time, or until just before a known moment (e.g. one day before the appointment). This is how reminders land at the right time.
- Send a message — send text to the customer on their channel. This is the action customers actually see.
- Draft with AI — instead of fixed text, have the AI write the message at send time toward a goal you set (for example, a warm aftercare check-in). You provide the goal and context on the Configure tab.
- Check a condition — branch based on a detail, so the workflow can do one thing in some cases and another in others (e.g. only follow up if a reply is still needed).
- Add or remove a tag — label the conversation so it’s easy to find and organize later.
- Create a task — open a task for your team to act on.
- Hand off to a human — write a draft for a teammate to review and send, instead of sending automatically.
How to choose the right workflow
- Start with the outcome you want — fewer no-shows, more rebookings, re-engaged quiet customers.
- Find the trigger that matches that moment in the customer journey.
- Open the workflow, read what its actions do, and set the wording and timing.
If a message can’t be sent when an action runs — because a channel’s messaging rules don’t allow it at that moment — Cura stops the run safely rather than forcing it through.